Whatever kind of home improvement project you undertake, chances are you’ll come across drywall sooner or later. Sure, you can always count on a contractor for the job. But it turns out the process of installing the material isn’t so complicated after all. In fact, any homeowner can master the craft, especially if you follow these simple steps for a quick and seamless installation.
What to Consider Before Installing the Drywall
First things first – to successfully install drywall, you need to consider what materials you will need to prepare. If you’re a DIYer by soul, you’ve most likely already equipped yourself with a measuring tape, utility knife, etc. However, there are a couple of less-common handyman tools that’ll make the job much easier.
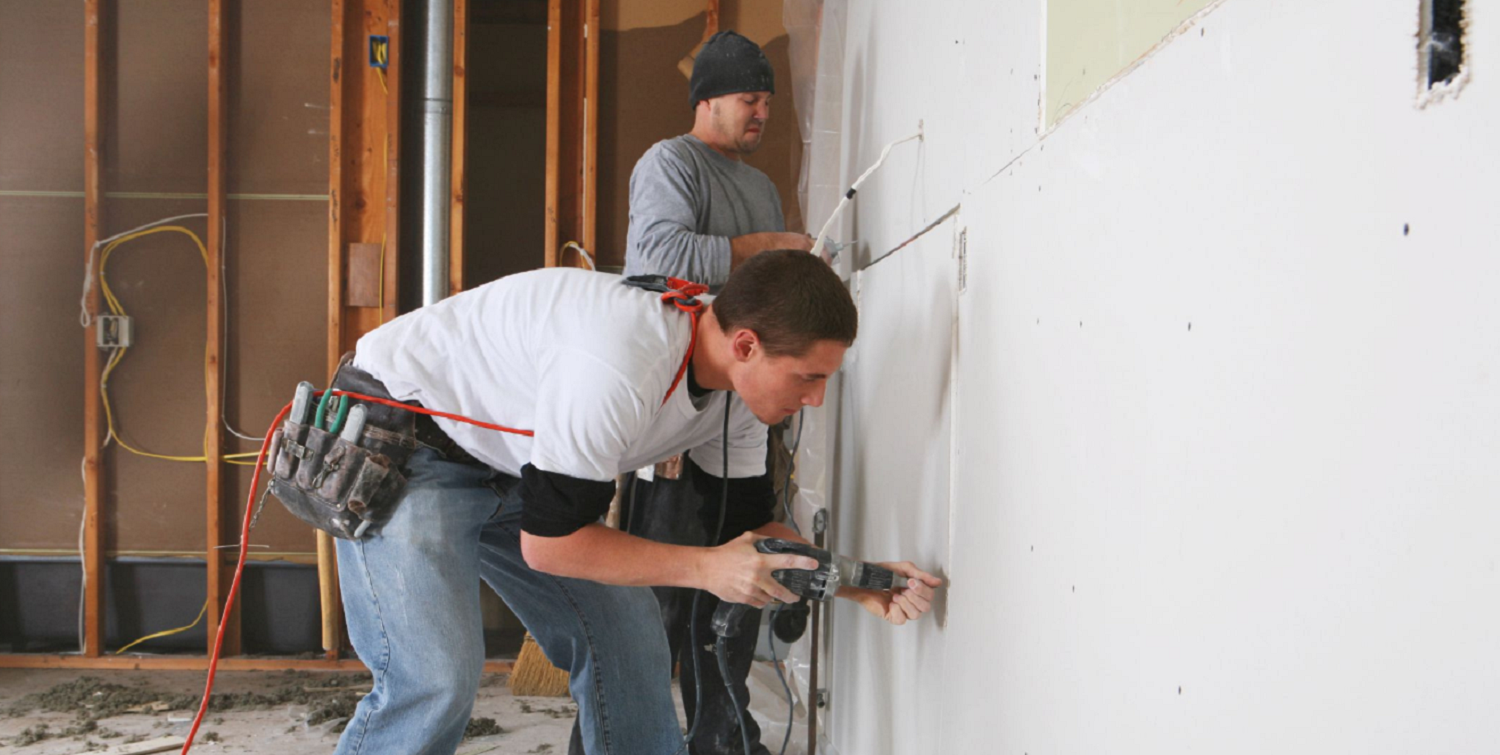
Firstly, consider purchasing drywall screws. Those are used to attach sheetrock to the framing studs. They easily penetrate the surface and fix it firmly without causing any damage. Plus, it’s very easy to hide them later on during the finishing process. Keep in mind that these screws are sharp, so you need to work carefully.
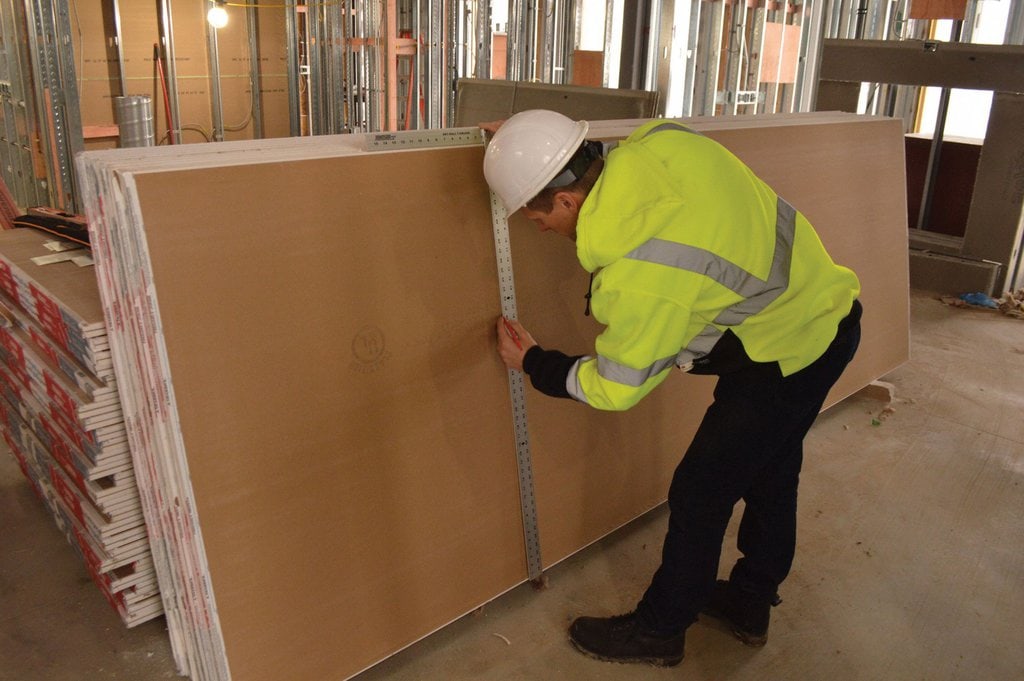
Another tool to add to your handyman stash is a T-square. There are different sizes available, with 48-inch being the ideal size for drywall. This allows DIYers to quickly and evenly cut the material. They spare the need to mark both sides, which often requires extra time and doesn’t produce the same results.
Hanging Drywall the Right Way
If you’re looking for ways to master the craft of drywall installation, here are some simple tips to help you reach your goals. Remember to prepare all the necessary tools for the job before commencing to save some time.
Begin with the measurements. Measure your wall, marking less than ¼-inch of the top of the sheet. Cut the sheet using the 48-inch T-square on each side and snap the material on the line to remove the excess drywall. Ideally, leave 16 inches between each screw when installing Sheetrock on walls and 12 inches when working on ceilings.
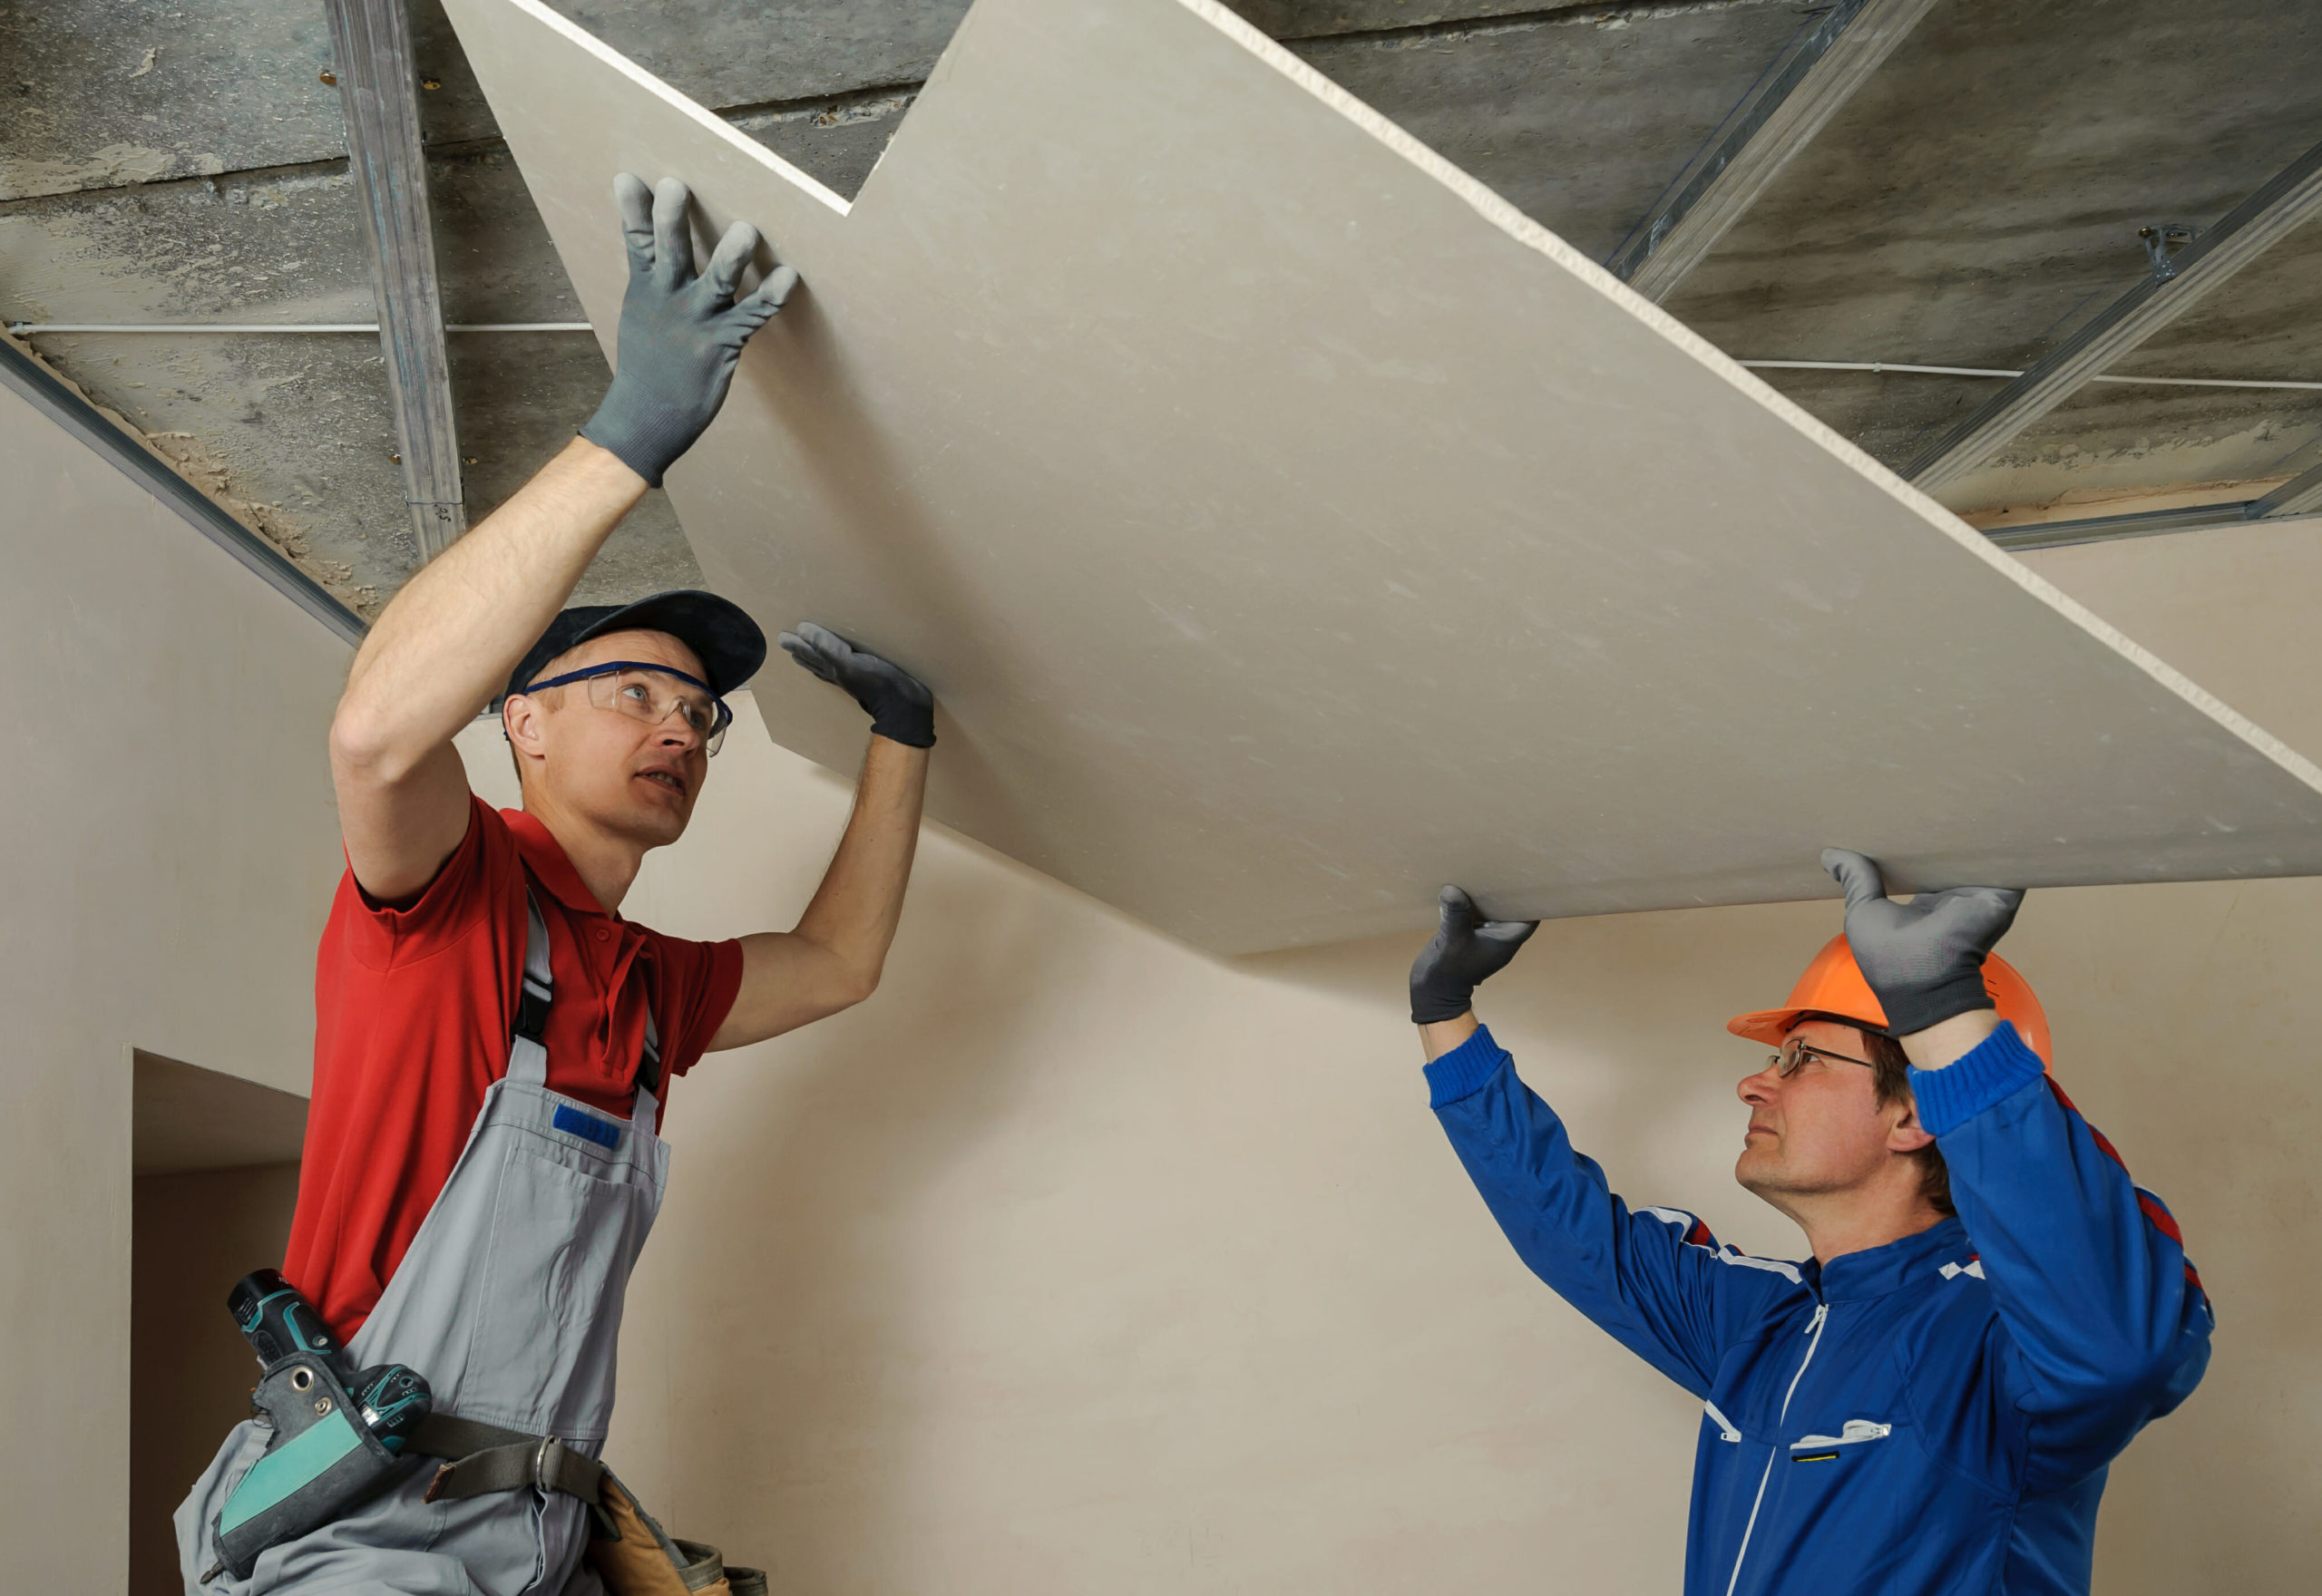
Typically, the process of hanging begins from top to bottom, meaning the top row is done before the bottom one. If you hang full sheets, you’ll need the assistance of at least one friend to hold the material while you’re screwing it firmly on the wall.
How to Cut Around Objects and Electrical Boxes
When it comes to installing drywall on your property, the empty spots are the easiest to handle. But when it comes to walls with electrical boxes, doorways, and windows, things can get a little tricky. But with these tips, you’ll quickly get the job done right. Firstly, remove the covers from the box and turn off the power. Measure the distance between the floor and the electrical box, and on each side.
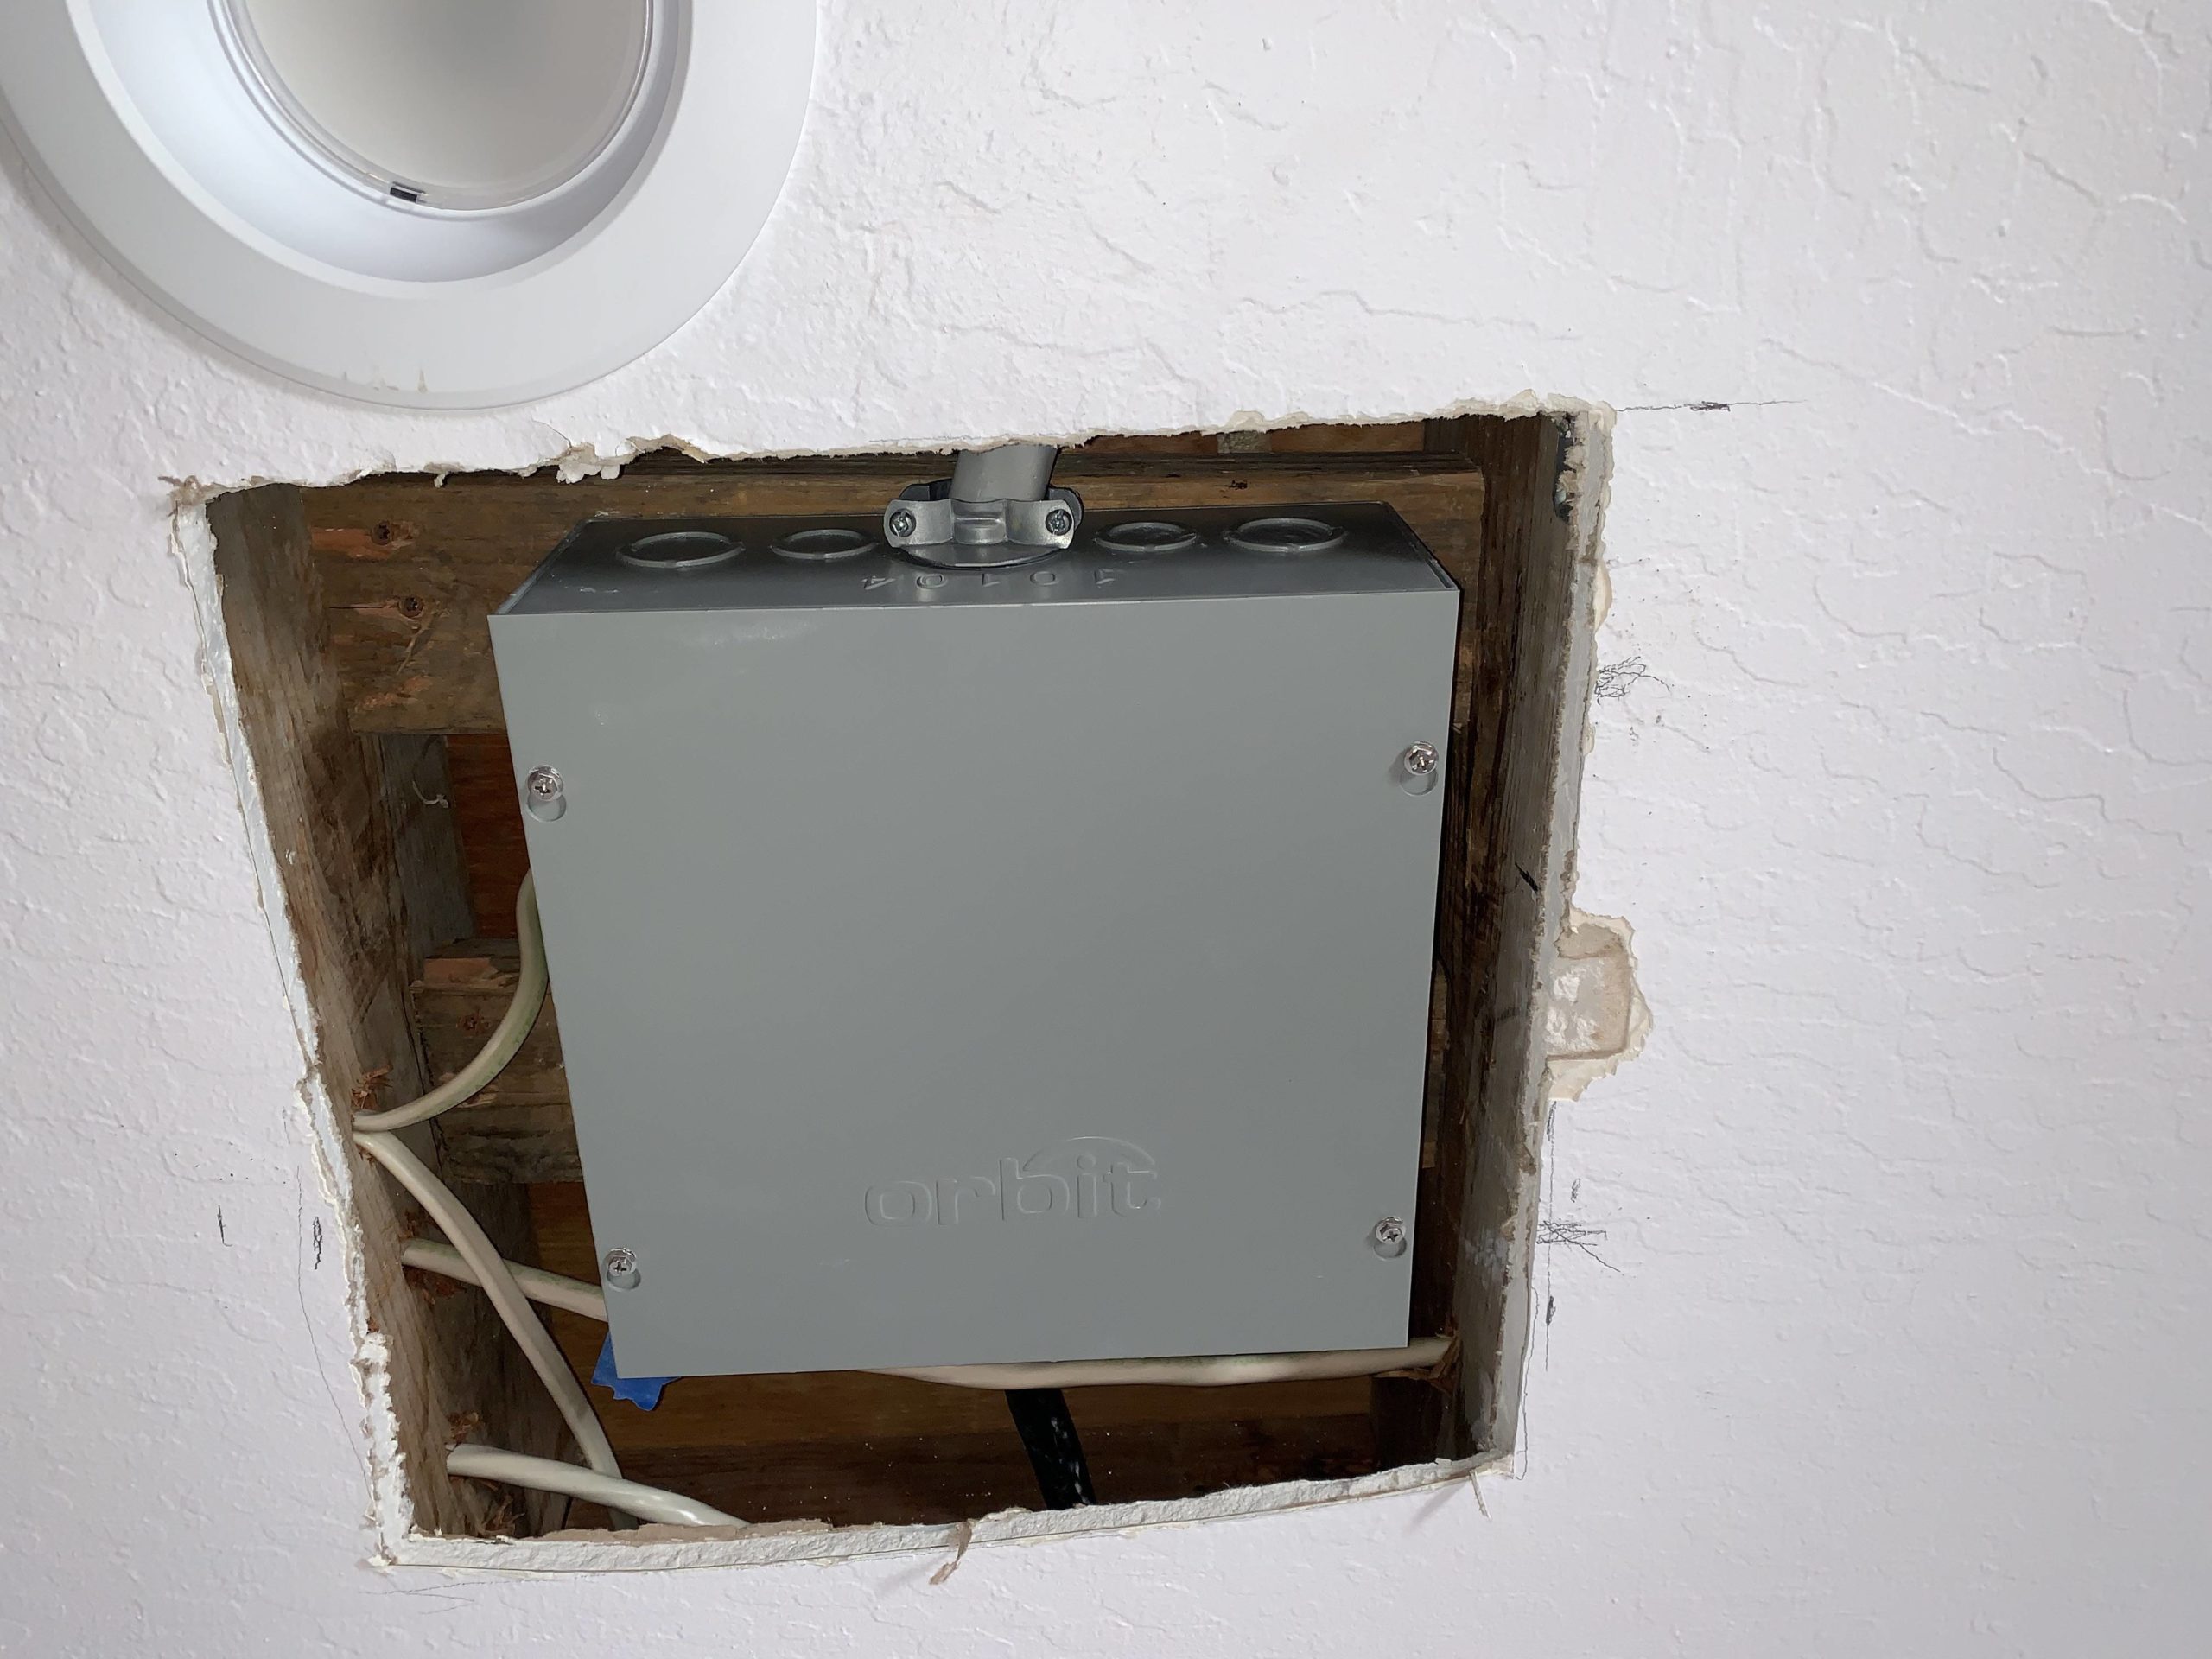
Next, mount the sheet on top and cut around the perimeter of the box or any other object. Once the hole has been cut evenly, install the drywall as usual. Ideally, you should use a cut-out tool or a rotary cutter equipped with a specialized head to cut sheetrock. If you don’t have these tools, buy one of the options at your local hardware store. They come in handy for other projects, too.